Tricopter build Part 3 – Flashing the ESC’s

Flashing the ESC’s with SimonK firmware

Parts you’ll need in this step:

3x Blueseries 30A ESC’s

USB ASP programmer

Socket flash tool

Computer

Lazyzero multicopter flashtool

Let’s flash:

So the first thing you should do is to cut the heatshrink off. Try to cut a straight line in one of the sides so it will be easier to reassemble.

Skærmbillede 2013-03-03 kl. 22.41.08

Now read carefully. On the processor itself, there are a round circle or a “dot” you could call it, in one of the corners. That is your reference point on the ESC. Also on the socket flash tool you are going to use there are a red dot on one of the corners as well. These two should line up! Very important or else it won’t work:

Skærmbillede 2013-03-03 kl. 22.56.47

(i marked them up on the picture so you know what to look for)

Next is to plug in your USB flash tool to the computer install the necessary drivers, and open up the Multicopter flash tool by LazyZero.

Remember to unplug the small jumper on the USBasp tool. Otherwise it won’t connect to the computer.

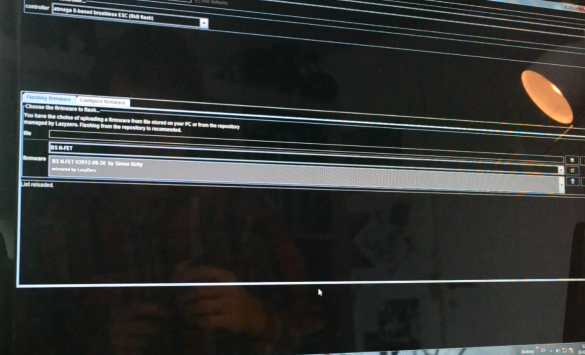
Here is the settings you need to set in the Multicopter flash tool before putting the socket flash tool on the ESC:

Skærmbillede 2013-03-03 kl. 23.03.52

If the image is too small to see anything here is the settings:

Controller  : “Atmega 8-based brushless ESC (8kb flash)”

Firmware :

First box : “BS N-FET”

Second box : “BS N-FET V2012-09-30 by Simon Kirby”

That’s all you need to select. Now basically just connect the Socket firmware flash tool to the ESC with the right orientation and then hit the green button on the far right and wait a few seconds and it will say something like:

“AVRdude.exe finished…”

And you’re done. Now do that to the rest of the ESC’s and wait for the next step.

That’s all for now. Thank you for reading and Goodbye!

/Martin

Tricopter Build Part 2 – The making of the frame

Making the frame:

What you need in this step:

Some 2,5 mm plywood plates for the main frame.

10mm*13mm arms x 3 (should be at least 50 cm’s long)

10 x M3*25mm bolts.

10x M3 nuts.

Optional:

Washers (Spring washers)

Locktite

Getting started:

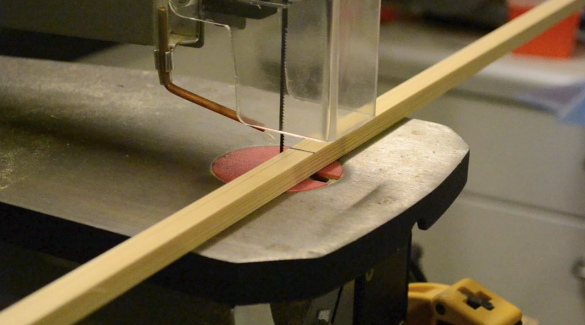
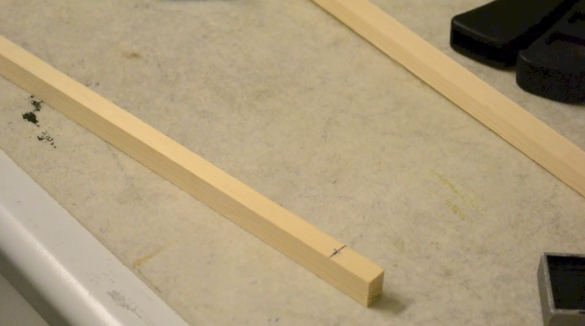
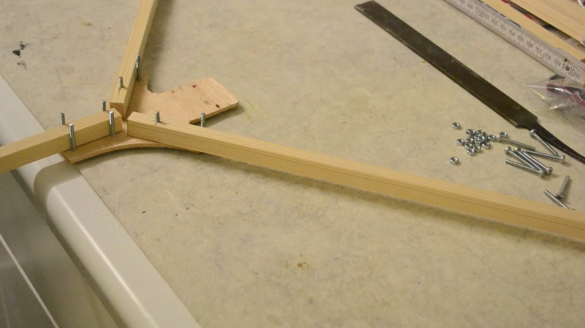
Firstly you need to cut your 3 arms or booms to the correct length. I made mine 50 cm each, for extra stability since i am gonna use it eventually for FPV. So you need to markup 50 cm’s and cut them there. Pretty straight forward:

Skærmbillede 2013-03-01 kl. 23.55.47 Skærmbillede 2013-03-01 kl. 23.59.13

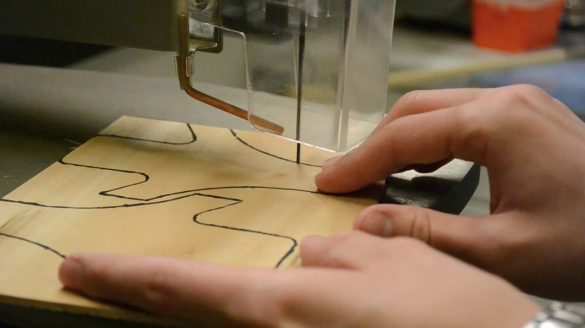
The next thing you want to or should do is to print out the template from RCexplorers website here. Cut the main frame out with a scissor lay it on you 2,5 mm plate of plywood (or any other sort of wood that is strong enough) and draw around the template with a pencil or a permanent marker. Remember to draw two, as you will need two plates – top and bottom.

Skærmbillede 2013-03-02 kl. 00.04.31

Once you cut your two main plates out you want to sand the edges or file them or something like that to make them more smooth. After that you want to go ahead and drill the holes needed for assembling the frame. What i did was to lay the two plates on top each other, and the template on top of those two and align them all so it’s a “snug fit”. Now clamp them together and take a 3mm drill and drill the holes where they are marked on the template.

Skærmbillede 2013-03-02 kl. 00.20.00

Next up is to drill the holes in the two front arms. The last one (tail arm) doesn’t need holes because it is kept in by the 4 bolts surrounding it and pressing the plates together around it. You need to drill a hole in one (Only one!) end of each arm 20 mm in from the edge in the middle of the arm.

Skærmbillede 2013-03-02 kl. 00.23.01 Skærmbillede 2013-03-02 kl. 00.26.46

Now drill a 3 mm hole where you marked it and thats it.

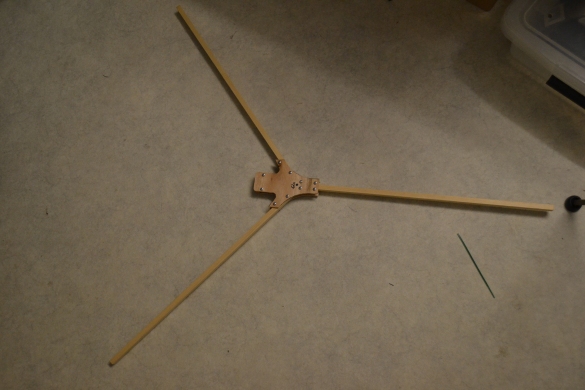
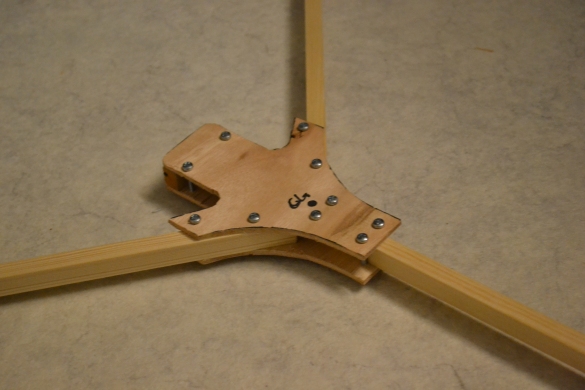
Now from your spare length of the part of the arms you cut away. Cut a small piece of 4 cm’s in length and round to edges which will be the front edges. Now you can assemble the frame, and you now have a professionally made frame. All credits goes to David Windestaal from RCexplorer who designed this frame.

Skærmbillede 2013-03-02 kl. 00.30.45

DSC_3456 DSC_3458

Also be sure to subscribe to both the blog and my youtube channel. That supports a lot. Thank you for reading. Bye for now.

/Martin

Tricopter Build series – Which parts? [Part 1]

Hello again.

Since the last time i posted a blog update i decided i wanted to build a tricopter instead. This will be done the same way as i did with the quadcopter series, only a little more detailed. I will be uploading the series with only a few days in between the videos, as well as posting the updates here on the blog. I am also currently working a “Complete tricopter guide” where i will be making a full write up on how to make the tricopter. This will be published in a few weeks.

Tricopter build – Which parts? [Part 1]

So basically part 1 will be to collect the needed parts. The parts i used was:

Parts used:

MultiWii Pro board with GPS module:
http://www.hobbyking.com/hobbyking/store/uh_viewitem.asp?idproduct=26588&aff=655899

Motors:
http://www.hobbyking.com/hobbyking/store/uh_viewitem.asp?idproduct=6247&aff=655899

ESC’s:
http://www.hobbyking.com/hobbyking/store/uh_viewitem.asp?idproduct=13429&aff=655899

Battery:
http://www.hobbyking.com/hobbyking/store/uh_viewitem.asp?idproduct=14057&aff=655899

Yaw Servo:
http://www.hobbyking.com/hobbyking/store/uh_viewitem.asp?idproduct=10346&aff=655899

Yaw mechanism:
http://www.hobbyking.com/hobbyking/store/uh_viewitem.asp?idproduct=8432&aff=655899

Wires:
http://www.hobbyking.com/hobbyking/store/uh_viewitem.asp?idproduct=9681&aff=655899
http://www.hobbyking.com/hobbyking/store/uh_viewitem.asp?idproduct=9680&aff=655899

ESC flash tool: (You need both)
http://www.hobbyking.com/hobbyking/store/uh_viewitem.asp?idproduct=21321&aff=655899
http://www.hobbyking.com/hobbyking/store/uh_viewitem.asp?idproduct=27195&aff=655899

Propellers:
http://www.hobbyking.com/hobbyking/store/uh_viewitem.asp?idproduct=22450&aff=655899
or
http://www.hobbyking.com/hobbyking/store/uh_viewitem.asp?idproduct=22446&aff=655899

Frame:
10mm*13mm*500mm arms. You need three 50cm long booms, which is 10*13 mm’s thick. Bought at local hardware store.
2,5 mm plywood for the two middle plates.

So this is basically part 1. These parts and links are also to be found under the parts tab if you click “Tricopter”.

Thats all for now. More to come shortly. Bye!

/Martin

Car FPV – once again

Hello again.

About a week ago i uploaded a video of me driving FPV with my Brushless 1:10 R/C car. Now all the snow disappeared (still very cold), and i went out driving again. This time on at a local Construction site. It was quite fun driving around in between the buildings and looking around from the ground. It was recorded with my GoPro Hero 2 camera and i was viewing the image through my Fatshark AttitudeSD video goggles. Here you can see the video from yesterday:

Martin

Car FPV is fun!

So yesterday i was out driving my car with FPV. It is a great 1/10 scale brushless car from mortars.dk It is the HBX Stealth X09 Brushless. I used my new set of Fatshark goggles – the AttitudeSD with the supplied 250mW transmitter. It was great fun! I used my GoPro as FPV cam and recording cam. Unfortunately i can’t put any images up of the setup as of now – which you will understand after watching the video.

/Martin

Fatshark AttitudeSD

Alright so i went ahead and ordered the Fatshark AttitudeSD video goggles for use with FPV. This way i can see what the plane/multirotor/car sees and control as a real pilot/driver would! It is incredibly fun! I did a unboxing video of this which is here:

I got a video of me driving FPV with the goggles from inside of a car. It will be posted later today!

New Beautiful bixler flight footage

I found this footage from last autumn with my bixler plane, and it is actually pretty beautiful. I was very high and very far way given that i flew the plane LOS(line of sight), and not FPV yet.

Also i am editing som video on the HobbyKing multiwii board in action, and you’ll see it soon enough. I’m looking forward to a new season of flying with you all!

/Martin

2012 in review

Annual Report:

Here’s an excerpt:

4,329 films were submitted to the 2012 Cannes Film Festival. This blog had over 17,000 views in 2012. If each view were a film, this blog would power 4 Film Festivals!

Click here to see the complete report.

H-Copter with MultiWii Pro ready!

I finally got time to finish setting up the MultiWii board in my H-copter. Not that it’s hard to setup, I just didn’t got the time because of my studies. So if the weather gets a little better I will be test flying it today, and I will of course be recording it so all you people out there can see how the HobbyKing MultiWii Pro with MTK GPS module behaves in a H-copter with stock PID. Have a good day!

Regards,

Martin